Pexip Secure Scheduler for Web installation
Pexip provides the Scheduler for Web appliance via an OVA template suitable for deployment on VMware vCenter. The OVA template is provided "as-is" and provides a reference installation which is suitable for integrating with an existing Pexip Infinity deployment.
No changes should be made to any Scheduler for Web system (other than as described within this documentation for installing and maintaining your deployment) unless directed to do so by Pexip support. This includes (but is not limited to) any changes to the operating system or the installation of any third-party code/applications. If you encounter any issues, please contact your Pexip authorized support representative.
Installing Scheduler for Web involves the following steps:
- Downloading and deploying the Scheduler for Web OVA template
- Setting the password for SSH/console access
- Completing the installation wizard
Hardware requirements
The server hosting the Scheduler for Web appliance requires a minimum:
- 2 vCPU
- 4 GB RAM
- 40 GB SSD storage
Large-scale deployments may require more resources.
DNS Security Extensions (DNSSEC)
If your organization requires DNSSEC, we recommend setting up an external DNS server in front of the Scheduler for Web service to manage DNS requests in accordance with your organization’s security policy.
Scheduler for Web software disk image for Microsoft Azure
You can also deploy Scheduler for Web in Microsoft Azure. Pexip publishes a Scheduler for Web virtual hard disk (VHD) to Azure which can be used to create an appropriate Azure image in your Azure subscription.
This section contains instructions for deploying in Azure. It covers preparing disk images for use, running the images script, and creating a VM instance.
See Preparing your Azure environment for general information on setting up Azure resources.
Before you can use the published
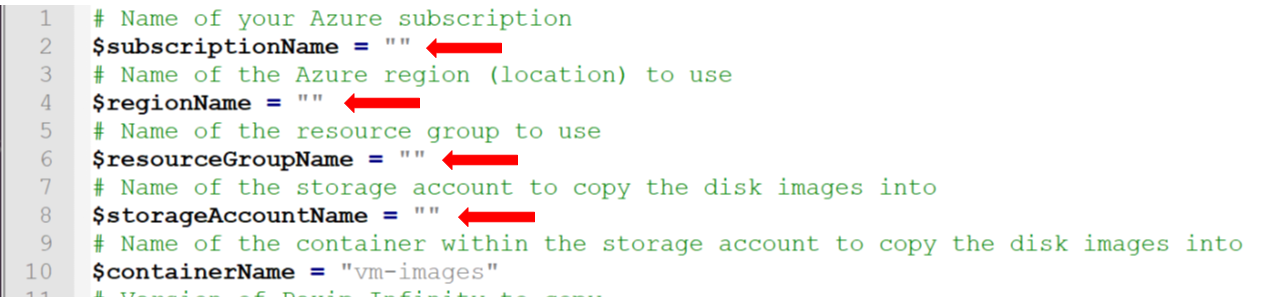
The following PowerShell script copies the published VHD to your storage account (into a storage container called vm-images) and then creates an image from that VHD so that it may be used to deploy VM instances.
You must edit the variables in the script to provide the name of the:
- Azure subscription ($subscriptionName)
- region (location) to use ($regionName)
- resource group ($resourceGroupName)
- storage account ($storageAccountName)
-
# Name of your Azure subscription
$subscriptionName = ""
# Name of the Azure region (location) to use
$regionName = ""
# Name of the resource group to use
$resourceGroupName = ""
# Name of the storage account to copy the disk images into
$storageAccountName = ""
# Name of the container within the storage account to copy the disk images into
$containerName = "vm-images"
# Version of Pexip Web Scheduler to copy
$version = "5-2-0-548-0-0"

# Add your Azure account to the PowerShell environment
Import-Module Az -MinimumVersion 9.0.1
Connect-AzAccount

# Set the current subscription
Get-AzSubscription -SubscriptionName $subscriptionName | Select-AzSubscription

# Obtain the access key for the storage account
$storageAccountKey = Get-AzStorageAccountKey -ResourceGroupName $resourceGroupName -Name $storageAccountName
If($storageAccountKey.GetType().Name -eq "StorageAccountKeys") {
    # Az.Storage < 1.1.0
    $storageAccountKey = $storageAccountKey.Key1
} Else {
    # Az.Storage 1.1.0
    $storageAccountKey = $storageAccountKey[0].Value
}

# Create the storage access context
$ctx = New-AzStorageContext -StorageAccountName $storageAccountName -StorageAccountKey $storageAccountKey

# Create the container
New-AzStorageContainer -Name $containerName -Context $ctx

# Start copying the Pexip Web Scheduler image
$mgmt = Start-AzStorageBlobCopy -AbsoluteUri "https://pexipas.blob.core.windows.net/scheduling-core/$version/scheduling-core.vhd" -DestContainer $containerName -DestBlob "pexip-scheduler-node-$version.vhd" -DestContext $ctx

# Wait for the image to finish copying
$status = Get-AzStorageBlobCopyState -Blob $mgmt.Name -Container $containerName -Context $ctx
While($status.Status -eq "Pending") {
    $status
    $status = Get-AzStorageBlobCopyState -Blob $mgmt.Name -Container $containerName -Context $ctx
    Start-Sleep 10
}
$status


# Create Azure image from the vhd file
$imageConfigMgmt = New-AzImageConfig -Location $regionName
$osDiskVhdUriMgmt = $mgmt.ICloudBlob.Uri.AbsoluteUri
Set-AzImageOsDisk -Image $imageConfigMgmt -OsType "Linux" -OsState "Generalized" -StorageAccountType "Premium_LRS" -BlobUri $osDiskVhdUriMgmt
$imageMgmt = New-AzImage -Image $imageConfigMgmt -ImageName "pexip-scheduler-node-image" -ResourceGroupName $resourceGroupName


# Print out the prepared disk image resource IDs for later use
"Pexip Web Scheduler disk image resource ID:   " + $imageMgmt.Id
Running the images script via your Windows client
To run the PowerShell script from your Windows PC, you need to connect your local machine to Azure:
-
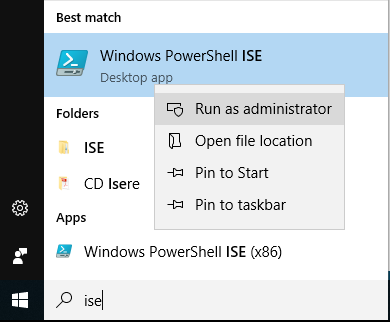
From your PC, run PowerShell ISE as Administrator by right-clicking on it and selecting Run as Administrator.
-
When in PowerShell run the following two commands:
-
Install-Module -Name Az -MinimumVersion 9.0.1 -MaximumVersion 9.7.1 -AllowClobber -Scope AllUsers
This installs the Azure Resource Manager modules from the PowerShell Gallery.
-
Install-Module Azure
This installs the Azure Service Management module from the PowerShell Gallery.
If you get any prompts while running these commands, select Y for Yes.
See https://docs.microsoft.com/en-gb/powershell/azure/ for more information about Azure PowerShell.
-
-
Copy and paste the PowerShell script from above into a text editor and add in your Subscription Name, Region Name, Resource Group Name and Storage Account name (where shown below), and then save the file as a .ps1 file.
-
Run the script:
- Close the file, right-click on it and select Run with PowerShell.
-
You are prompted to login, so enter your Azure login credentials.
If you are using multi-factor authentication, and your credentials are already populated, you may need to manually retype them for the authentication process to complete successfully.
- The script will run and copy the images over to your Azure environment. This takes approximately 10 minutes
-
You can use the Azure portal to confirm when the VHD file has been copied across and the image has been created. From the Azure portal go to your Azure dashboard and select your . You will see the appliance prepared disk image.
Now that you have your prepared disk image in your Azure environment, you can use it to create the VM instance in Azure in which you can deploy the appliance.
To deploy Scheduler for Web within Azure you must create an Azure VM instance and then use that instance to host the Scheduler for Web appliance.
To create the VM instance:
-
Create a new resource group to hold the instance.
- Go to and select .
- Select your Subscription and enter your Resource group name, such as
- Select your Region, and then select .
- On the page, select .
-
Deploy the instance into the new resource group. This procedure describes how to do this via the Azure portal using an ARM template provided by Pexip:
- You can deploy the
- Enter the Basics by selecting your Subscription, Resource group and Location (region).
-
Complete the Settings (these are based on the template's parameters):
Name Description Vm Image ID The Resource ID of the Azure image (which is in the style /subscriptions/mysubscriptionid/resourceGroups/myressourcegroup/providers/Microsoft.Compute/images/myimage).
This resource ID can be obtained from the Azure portal by selecting your used for shared resources, and then selecting

Selecting the image resource ID
Dns Domain Name Label The domain name label (i.e. hostname) for the Virtual Machine.
When deploying an instance with a public IP address, this label must be the host part only — the name must not contain any periods.
Ip Address The statically-assigned private IP address for the Virtual Machine.
This must be within the IP range of your Virtual Network. Note that the first and last IP addresses of each subnet are reserved for protocol conformance, along with the x.x.x.1-x.x.x.3 addresses of each subnet, which are used for Azure services.
Admin Credential For password-based authentication templates, you must supply a password to the template (Azure requires a strong password, such as a mix of upper case, lower case and numeric characters) but you still have to use the default credentials on first boot of the Virtual Machine.
For SSH key-based templates, this is the public SSH key for logging into the Virtual Machine (e.g. ssh-rsa AAA.... user@host). Do not use the Generate new key pair option (as this will generate an error) but instead use an existing public key or a key already stored in Azure.
Vm Size The size of the Virtual Machine (typically D4ls v5 ). You can change the Size later from within the Azure portal (Virtual Machine settings), if required.
Azure regularly updates the instance types that can be deployed in each region. Therefore, you may receive a "The requested size for resource <name> is currently not available in location <region> zones" style error when deploying a node.
Diagnostics Storage Account Name The name of the storage account to use for boot diagnostics. This can be the same storage account that is used to hold the prepared disk images. Note that this storage account cannot use Premium storage. Network Name The name of the Virtual Network to connect to. Network Subnet Name The name of the Virtual Network subnet in which to place the Virtual Machine. Network Security Group Name The name of the Network Security Group to apply to the Virtual Machine. Network Resource Group The name of the Resource Group containing the Virtual Network and Network Security Group. - Select .
- Review the legal terms.
- Select to deploy the instance.
- You can deploy the
-
It can sometimes take several minutes for your instance to be created and start running. You can use the Azure portal to monitor the status of your new instance.
If the instance deployment fails, review the Azure event diagnostics to help identify the problem.
-
You can now complete the deployment of the Scheduler for Web appliance.
Downloading and deploying the Scheduler for Web OVA template on VMware
Download the latest version of Scheduler for Web from https://dl.pexip.com/scheduling-core/ to the PC running the vSphere web client.
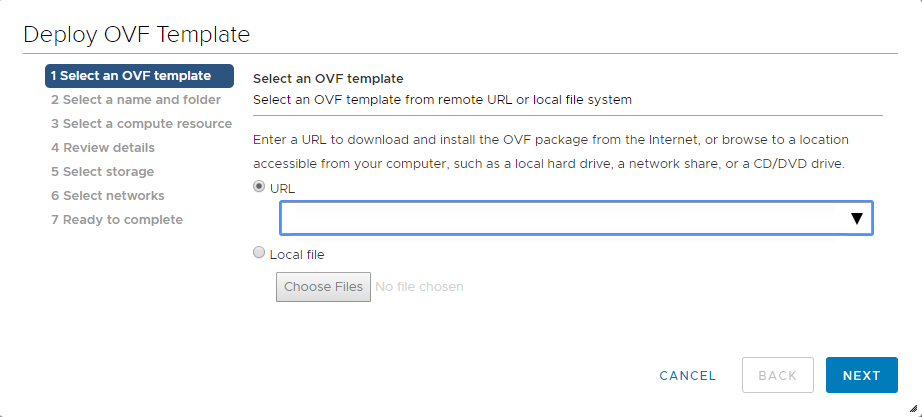
To deploy the OVA template:
- Using the vSphere web client, go to , and open the host or cluster where you want to deploy the OVA template.
- Go to and select (this option accepts OVA files).
- During the OVA deployment, we recommend that you use the default options. Also make sure to assign the correct VMware network/port group for the network interface of the virtual machine.
- After the OVA template has been deployed, power on the newly-created virtual machine.
Setting the password for SSH/console access
After the virtual machine has powered on, open a console for the virtual machine.
Before you can start the install wizard, you must change the password. To do this:
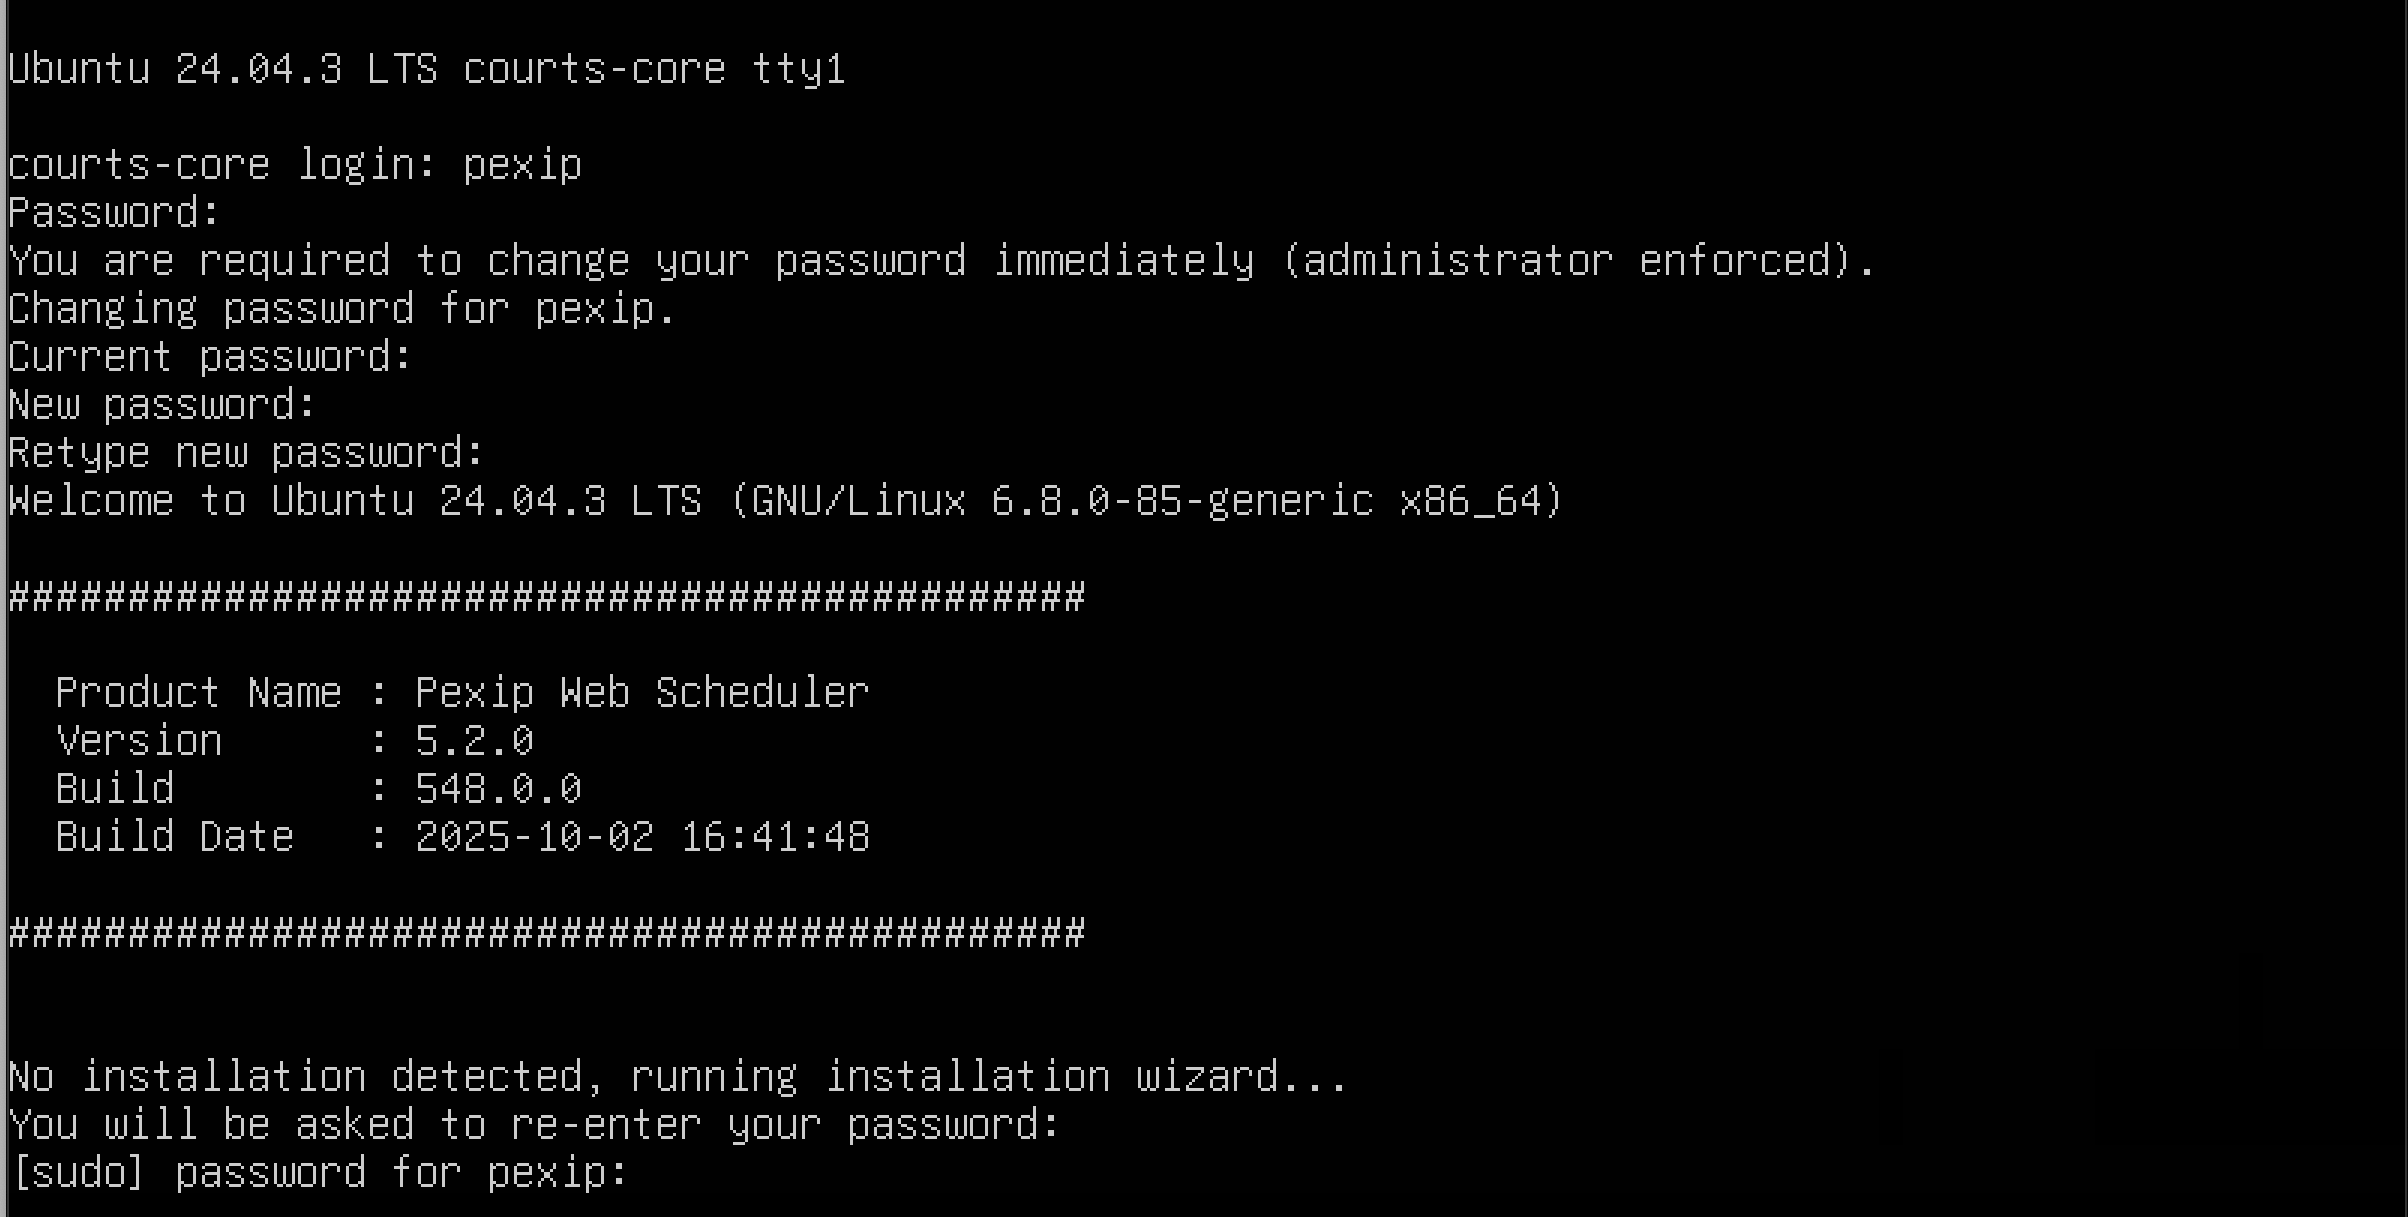
- Log in as user pexip with password PEXIP (these are case sensitive).
-
You are prompted to set a new password. To do this you must enter the new password twice. The password must:
- have a minimum of 8 characters
-
satisfy at least 3 out of the following 4 conditions:
- one lower case character
- one upper case character
- one special character
- one digit.
- After setting the new password, the install wizard starts and you log in again with the new password.
Completing the installation wizard
The installation wizard is divided into several steps, which are explained below.
Note that all IP addresses in this guide are examples only — actual IP addressing is deployment specific.
The following table shows, for each step, the prompt text that is shown, an explanation of the step and some example input where appropriate. If you subsequently rerun the installation wizard, the default values for the questions use the answers from the previous run (if they are still valid).
When all of the installation wizard steps have been completed, Scheduler for Web will automatically reboot.
After Scheduler for Web has started up again it is ready for use — users can now sign in to the Scheduler for Web portal (via the virtual machine's address as specified in step 3.1).
Scheduler for Web post-installation steps
When you have completed the installation of both Pexip Infinity and Scheduler for Web, proceed to the post installation steps below.
- Check for OS patches
- Install a system license
- Replacing the default SSL certificate on the Scheduler for Web VM
- Configuring a policy profile in Pexip Infinity
- Authentication
- Configuring a test call alias
Check for OS patches
We recommend that you keep the appliance's Operating System patched against the latest security bugs. You should check for patches immediately after initial installation, and then periodically. For full instructions, see Patching the operating system for the latest security bugs.
Install a system license
Install a system license that permits basic operation of the platform. See Licenses for more information.
Replacing the default SSL certificate on the Scheduler for Web VM
During the installation process a self-signed certificate is created on the Scheduler for Web VM — this must be replaced by a certificate signed by a CA that is trusted by Pexip Infinity.
To replace the built-in X.509 SSL certificate on the Scheduler for Web appliance with a custom-created certificate:
-
Create a text file called
- server certificate
- server private key (which must be unencrypted)
- DH parameters (mandatory, 4096 bits); these parameters can be generated through the openssl dhparam command, for example:
/usr/bin/openssl dhparam -out dhparam.pem 4096 - one or more intermediate CA certificates (a server certificate will normally, but not always, have one or more intermediate CA certificates)
Note that the contents MUST be in this specific order for the certificate to work properly.
The first section with the server certificate should contain a single entry in the format:
-----BEGIN CERTIFICATE-----
<certificate>
-----END CERTIFICATE-----The second section with the server private key should contain a single entry in the format (although it may instead show 'BEGIN RSA PRIVATE KEY'):
-----BEGIN PRIVATE KEY-----
<private key>
-----END PRIVATE KEY-----The DH parameters section should contain a single entry in the format:
-----BEGIN DH PARAMETERS-----
<parameters>
-----END DH PARAMETERS-----Finally, there will normally be one or more intermediate CA certificates, where each intermediate has a section in the following format:
-----BEGIN CERTIFICATE-----
<certificate>
-----END CERTIFICATE----- -
Using the SCP file transfer protocol, upload the
scp
-
After the
sudo cp /etc/nginx/ssl/
sudo mv /tmp/
-
Run the following command to check the new certificate:
sudo nginx -t
If the certificate is OK, the response should look like this:
$ sudo nginx -t
[sudo] password for pexip:
nginx: the configuration file /etc/nginx/nginx.conf syntax is ok
nginx: configuration file /etc/nginx/nginx.conf test is successful
However, if the certificate is missing, the response will look similar to this:
$ sudo nginx -t [sudo] password for pexip: nginx: [emerg] cannot load certificate "/etc/nginx/ssl/
-
If the certificate is OK, you can run this command to apply the new certificate:
sudo systemctl reload nginx
After these commands have been run, the Scheduler for Web appliance should now be operational and using the new certificate.
If any problem occurs with the replaced certificate, the previous certificate can be restored using the following commands:
sudo cp /etc/nginx/ssl/
sudo systemctl restart nginx
If you rerun the installation wizard you are given the option Do you want to regenerate self-signed SSL certificates? Ensure that you answer "no" to this option if you want to preserve your own certificate.
Configuring a policy profile in Pexip Infinity
Policy profiles specify how Pexip Infinity uses external policy and/or local policy to control its call policy and routing decisions. You only need to create one policy profile for Scheduler for Web. All the Pexip Infinity System locations used for Scheduler for Web must use this policy profile.
Note that running local policy alongside the profile for Scheduler for Web is not recommended. If you need to do this, please contact your Pexip authorized support representative.
To configure policy profile:
- Go to .
-
Select and then configure that profile. The options are:
Option Description Name The name used to refer to this policy profile in the Pexip Infinity Administrator interface. Description An optional description of the policy profile. External policy server URL The URL of the Scheduler for Web virtual machine set up during the installation wizard.
You can only configure one address URL per policy server.
Username
Password
The same username and password that were set up during the installation wizard. Service configuration policy Enable external service configuration lookup Ensure this option is selected. Participant policy Enable external participant lookup Ensure this option is selected. - Select .
- Go to .
- Select each appropriate location in turn and assign the newly created Policy profile for Scheduler for Web.
Authentication
User authentication for the Scheduler for Web portal can be local or via OIDC. Go to in the portal to configure this.
Choose between Local or OIDC authentication. OIDC enables single sign-on (SSO) for users of the Scheduler for Web portal. Authentication for the portal is separate to authentication for the Pexip Infinity Administrator interface.
Complete the fields in the portal with the relevant details from your Identity Provider.
If you are required to change the client secret in your Identity Provider configuration at any point, you can update the OIDC client secret field in the portal in .
Configuring a test call alias
You need to set up one or more aliases for test calls.
Pexip Infinity
A test_call alias is created on Pexip Infinity by default, but you can add additional test call aliases if required. See Configuring the Test Call Service for more information.
Scheduler for Web
Add the test call aliases configured on Pexip Infinity to the set of passthrough aliases in the Scheduler for Web portal in .